Ice Plate

🧊How to use Crystal Clear Ice Mold:

Fill the Water to 80% Full:

Pour water into the ice mold until it reaches approximately 80% full.

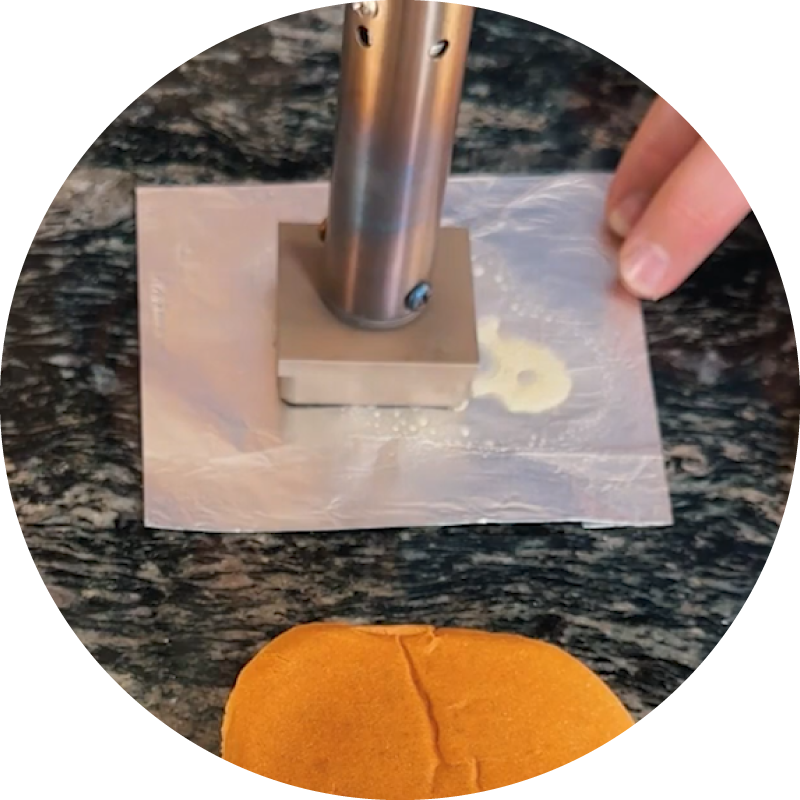
Slightly Push the Ice Mold:

Gently push the ice mold, allowing any excess water to come out of the small hole at the top.

Freeze for at Least 24 Hours:

Place the filled ice mold in the freezer and allow it to freeze for a min of 24 hours. 

Take Out the Ice Mold:

Allow it to sit at room temperature for approximately 30 minutes to make it easier to release the ice.
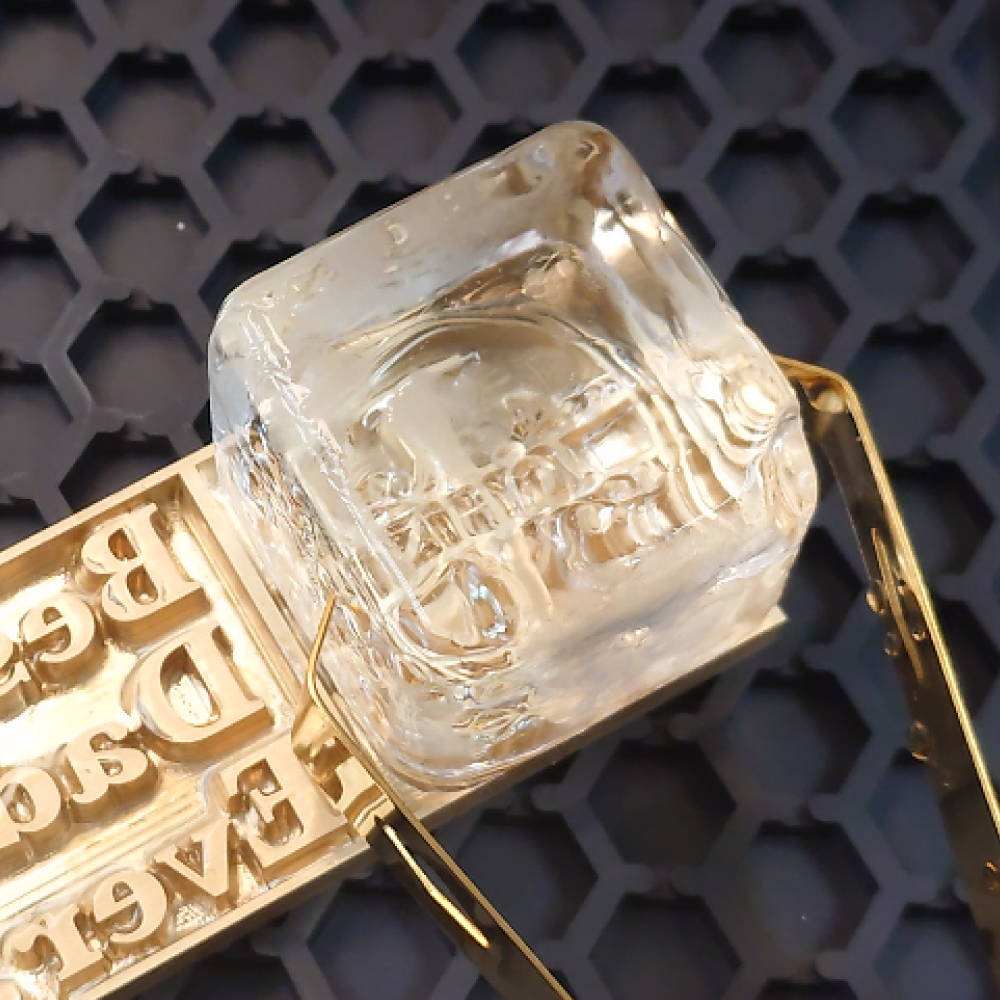
Release the Ice:

You can use the provided tools to help release the ice, ensuring it maintains its clear and flawless form.

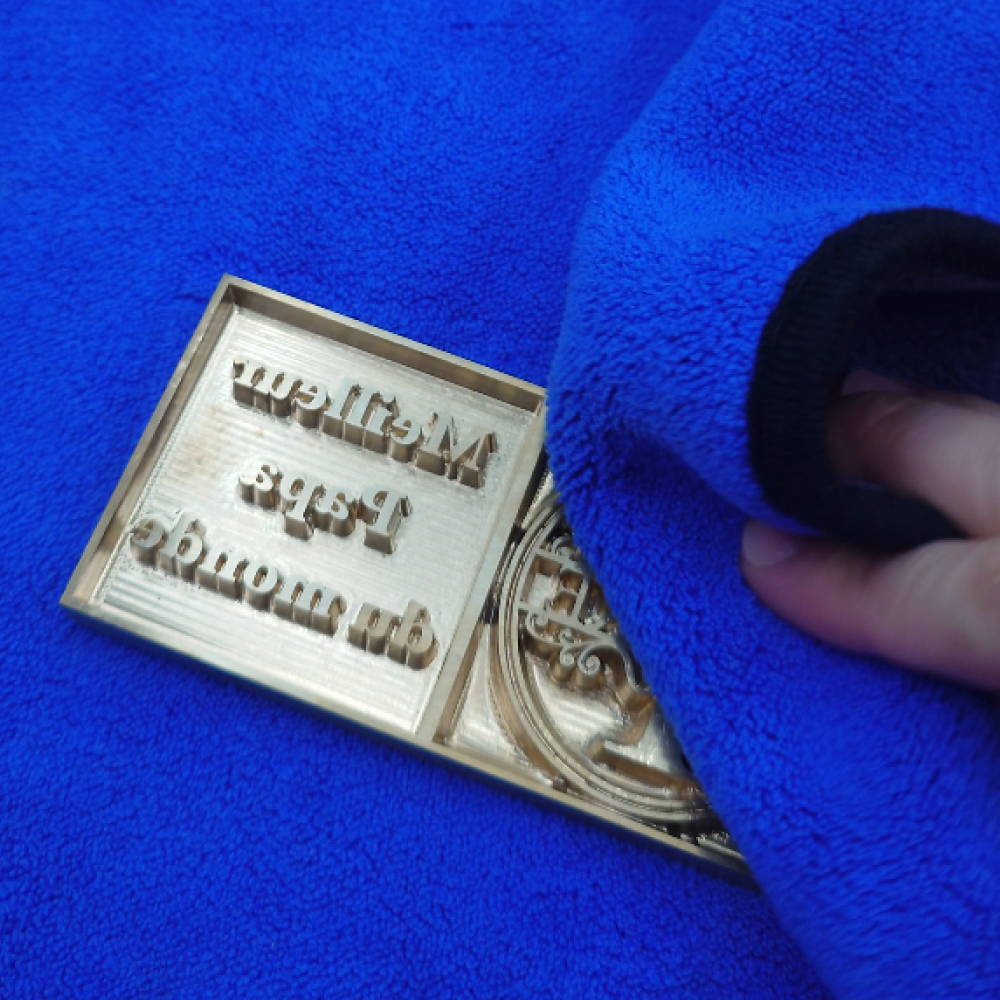
Smooth the Ice Surface:

For a polished look, use the backside of the ice plate to gently smooth the surface of the ice. This step helps melt any imperfections, resulting in a clear and stunning ice creation.

🥃How to Use the Plates:

Prepare the Ice:

Take a 5x5 cm ice cube and ensure its corners are aligned for proper placement on the ice plate.

Align the Corner:

Place the ice cube on the ice plate, aligning one of its corners with the corner of the ice plate. This ensures accurate and centered imprints.

Apply Little Pressure:

Gently apply a small amount of pressure to the ice cube while it rests on the ice plate. Ensure an even application of pressure for consistent results.

Observe Clear Patterns:

For the first 2 ice cubes, within 5 to 10 seconds, the pattern will become very clear on the surface of the ice. This initial clarity is a result of the ice plate reaching an optimal temperature.

Allow Ice Plate to Cool:

After using the ice plate for a few imprints, it may become very cold. You can wait for it to naturally warm up slightly before using it again, or you can expedite the process by warming the ice plate slightly.

🤗How to Care for the Plates:

Dry Thoroughly:

After washing, dry the plates thoroughly with a soft cloth to prevent water spots and maintain their pristine appearance.

Hand Wash Only:

Clean the plates by hand using mild soap and warm water. Avoid using abrasive materials that could damage the engraved surface.

Avoid Extreme Temperatures:

Do not expose the plates to extreme temperatures, as this could affect the integrity of the materials and engraved designs.

Store Safely:

Store the plates in a cool, dry place, away from direct sunlight and excessive humidity, to prevent any potential warping or damage

Branding Iron

🔥How to use Branding Iron:

Pre-heat the Electric Stamp:

Pre-heat the electric stamp for 1 minute. For the initial use, allow 5 minutes for pre-heating as there may be vapor emission.

Prepare with Olive Oil:

Apply a thin layer of olive oil to the branding iron to prevent sticking on the food surface. Use a piece of tin paper to apply the olive oil evenly.

Press Down Firmly:

Position the branding iron directly onto the desired surface and press down firmly for 3 seconds.

**If using a wider branding iron, gently rock the surface to match the curvature of the body, ensuring the design sticks clearly onto the food surface.